The usual order in Finale 3D for laying out racks is: (1) design the show, (2) add racks, and (3) address the show. Step (3) assigns firing system addresses and racks together. This order of operations has various advantages, but in some circumstances it isn’t possible. For example, if you inherit a show that already has firing system addresses, you may need to add racks and make rack assignments using the existing addresses as they are. Finale 3D has two functions to load effects that already have firing system addresses into racks: “Racks > Load effects with firing system addresses into racks…” and “Racks > Re-load selected effects from script into racks”.
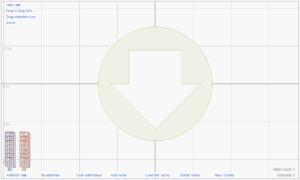
Figure 1 shows what a launch position might look like after importing a show with two Pyrodigital rails at the position, shown in the lower left corner. The position doesn’t yet have any racks because the file being imported, a CSV or SCX file for example, contains rows with firing system addresses but no racking information.

Figure 1 – After importing a show with firing system addresses, the rack layout window shows the firing system rails but no racks.
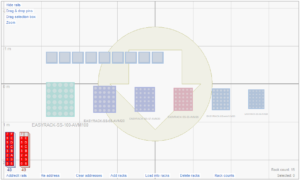
After adding racks with the function “Racks > Add racks for show”, the launch position may look like Figure 2, with racks added for the various sizes and types of effects.

Figure 2 – After adding racks, the pins turn red to indicate their effects have not yet been assigned to the racks.
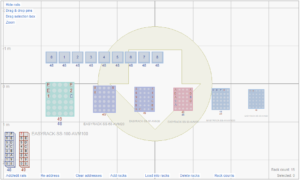
The racks in Figure 2 are in place, but the effects have not yet been loaded into racks. From this point, you can manually load the effects into the racks by dragging and dropping the red pins to whatever tubes you want for their effects, but it is a lot faster to do it automatically by clicking the “Load into racks” link at the bottom of the window or doing the menu item, “Racks > Load effects with firing system addresses into racks…” The automatic process results in the window shown in Figure 3.

Figure 3 – The “Load into racks” function loads the effects into racks, which is faster than dragging and dropping them one by one.
When you address the show and assign racks together in the normal order of operations, the addressing dialog offers you a checkbox option to “Re-arrange tubes in adjustable angle racks to avoid collisions”, which optimizes the arrangements of single-shot effects in their racks. This option is always on for the functions that load effects that already have firing system addresses into racks, except not for racks are already partially loaded with effects, and not for racks that have pre-wired pins (because rearrangement with pre-wired pins would require changing the pins).
You can see the results of the option in Figure 3. The show has single-shot effects aiming left and right. The rack loading function has assigned the left-aiming effects to the left tubes of the racks and the right-aiming effects to the right tubes, ensuring the tubes aren’t aiming toward each other.
Differences between addressing and assigning racks together versus loading effects into racks after addressing
If you want, you can address any show before adding racks, and then add racks and load the effects into racks afterward. All the specifications of the racks such as their compatible effect size ranges, angle restrictions, usable track length, pre-wired pins, and pre-wired rails will still apply. The primary advantage of addressing and assigning racks together instead of assigning racks after the fact is that if you address and assign racks together you can choose constraints in the addressing dialog that affect what firing system addresses are assigned based on the available racks in the rack layout. If you are addressing before adding the racks, then such constraints obviously don’t apply since there aren’t any racks to take into account.
For example, you may want to limit modules to racks or rack clusters to avoid e-matches extending long distances from the modules to racks that aren’t nearby. In paragraph 3 of the addressing dialog you can add the “Rack” or “Rack Cluster” constraint to the module line to add this restriction (see Restricting modules to racks or rack clusters). Say your module has 32 pins, but the rack clusters require only 30 pins each. The addressing function will leave two pins unused based on the constraint you added. But you can only do this if you are addressing and assigning racks together. If you address first then all 32 pins of the modules will be assigned, and at that point there is nothing you can do about the two pins that serve far away racks. It’s too late.
